
Turning my pattern in to a downloadable file - are
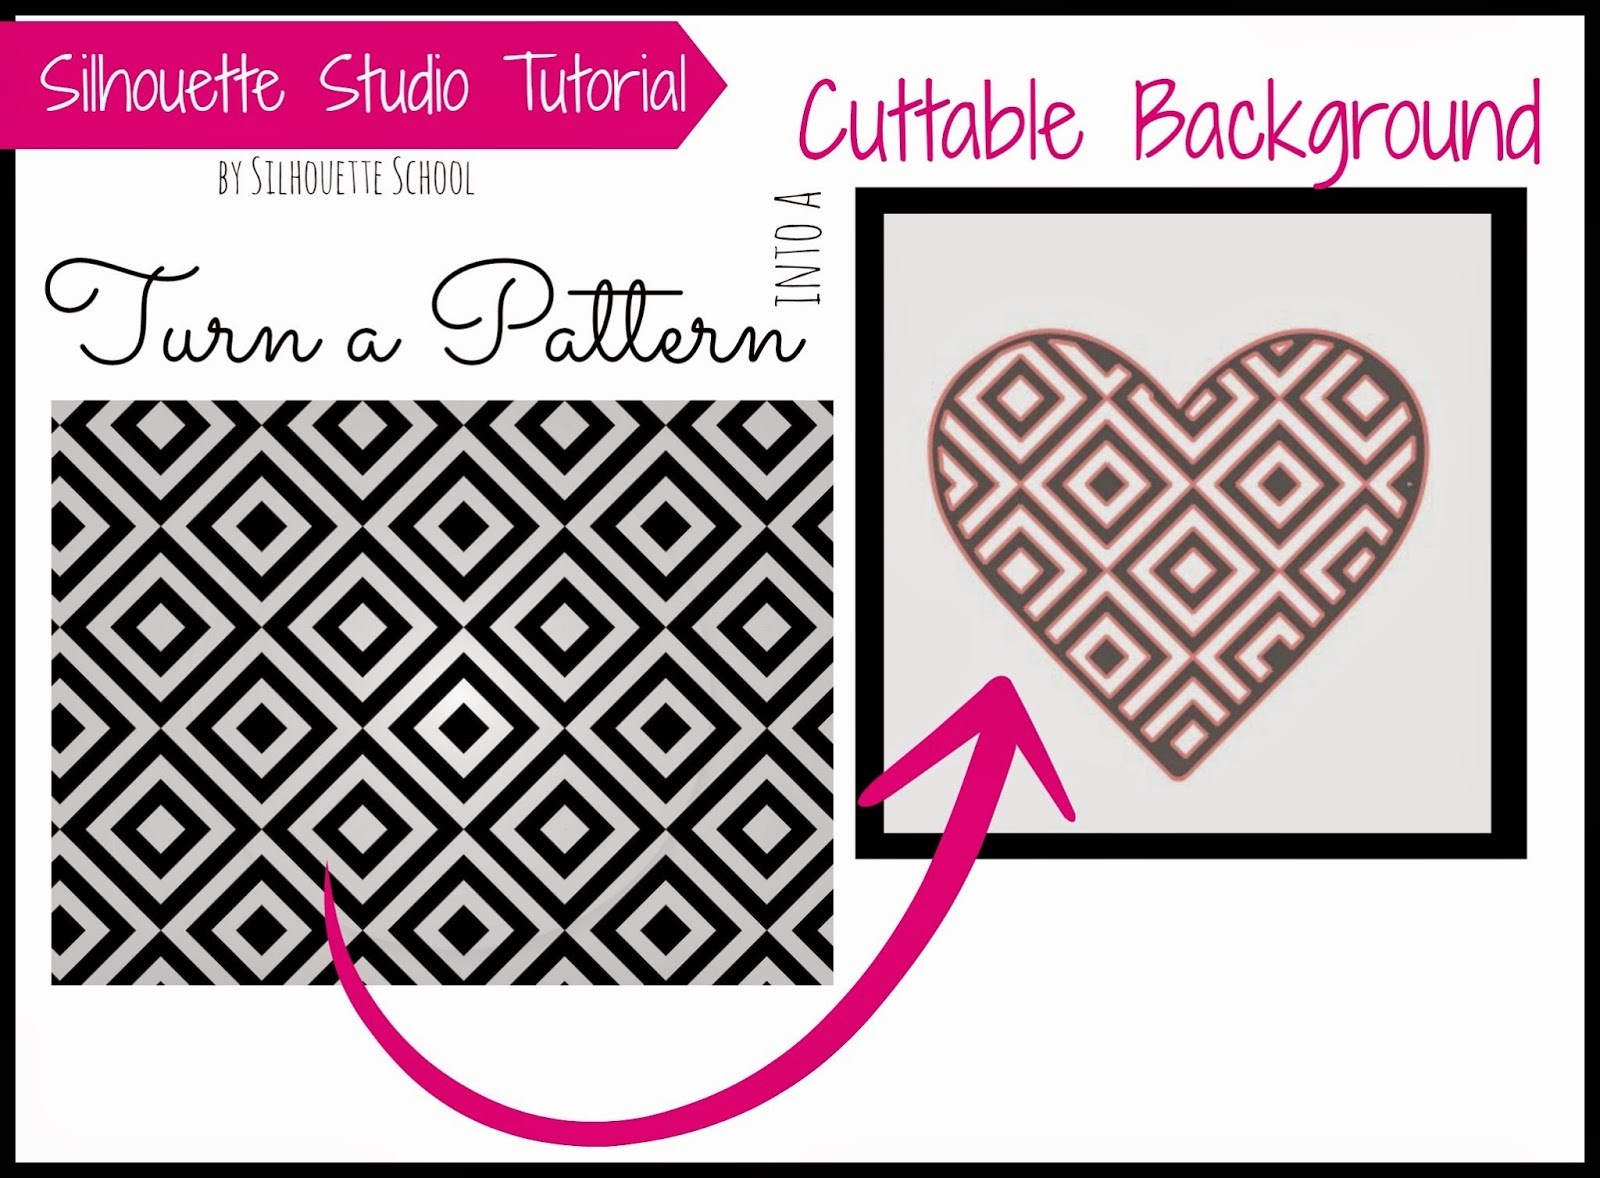
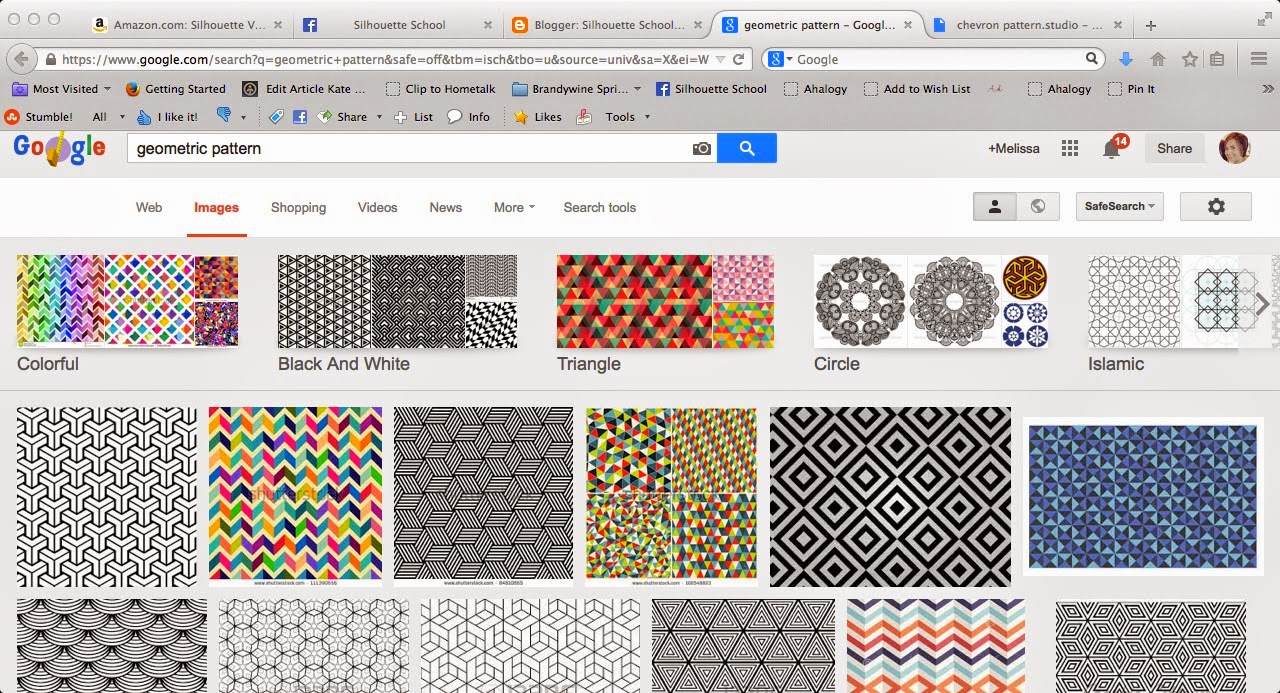
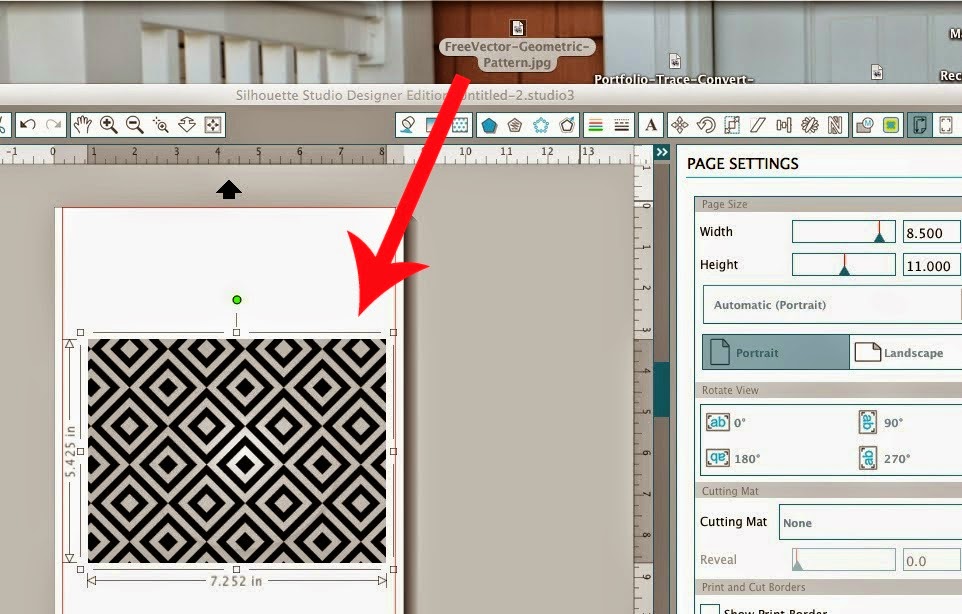
BUT what if you find a pattern that you like, but you want to use it as a background. It is possible and it is easy to do. The first thing you want to do is find a pattern. I did a google image search for 'geometric pattern' and this is what came up.
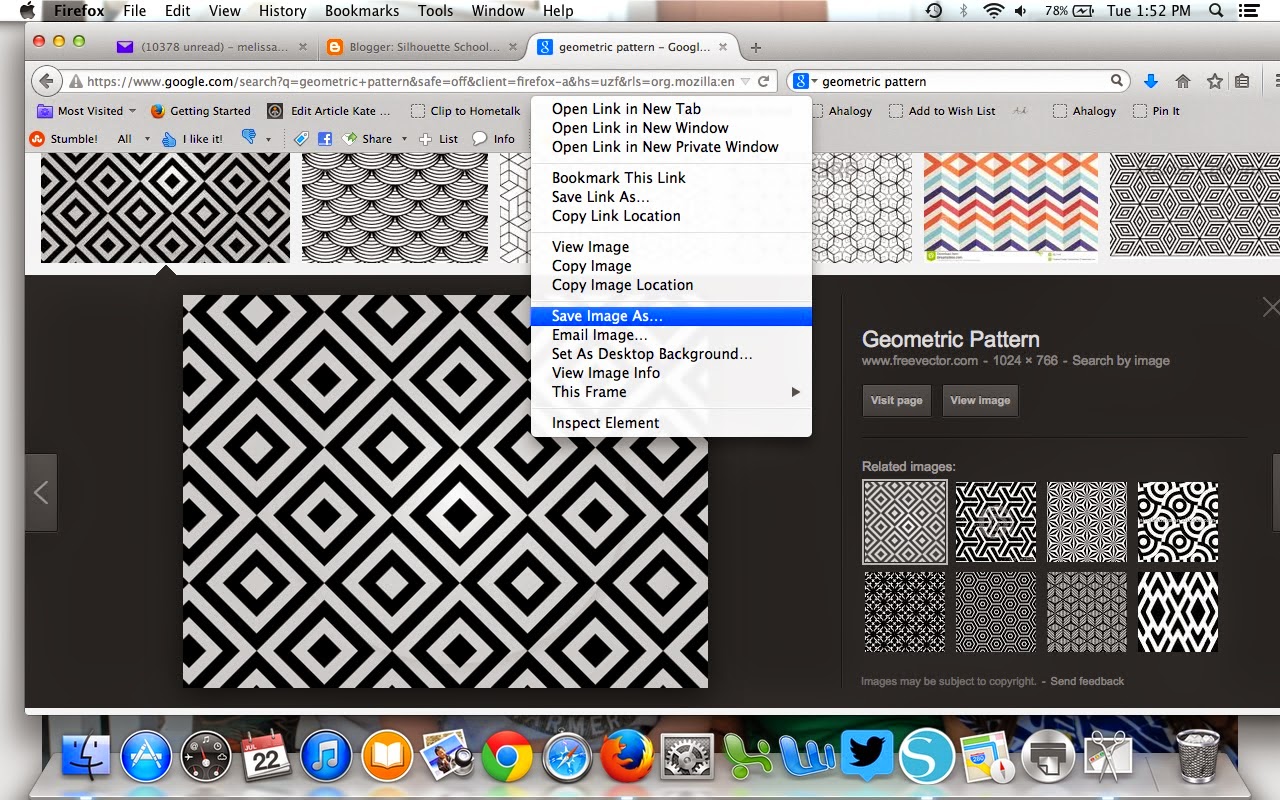
Click on the pattern you like and save it to your computer. I suggest saving to your desktop for easy access.
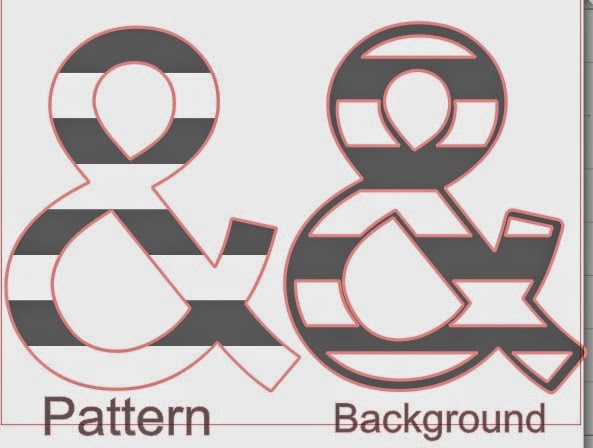
If I import this as a new pattern into Studio into My Pattern folderI can fill a shape with it, but I can't change the color and I am not getting cut lines around the actual geometric pattern...just around the border of the heart. So this is more useful for print and cut...

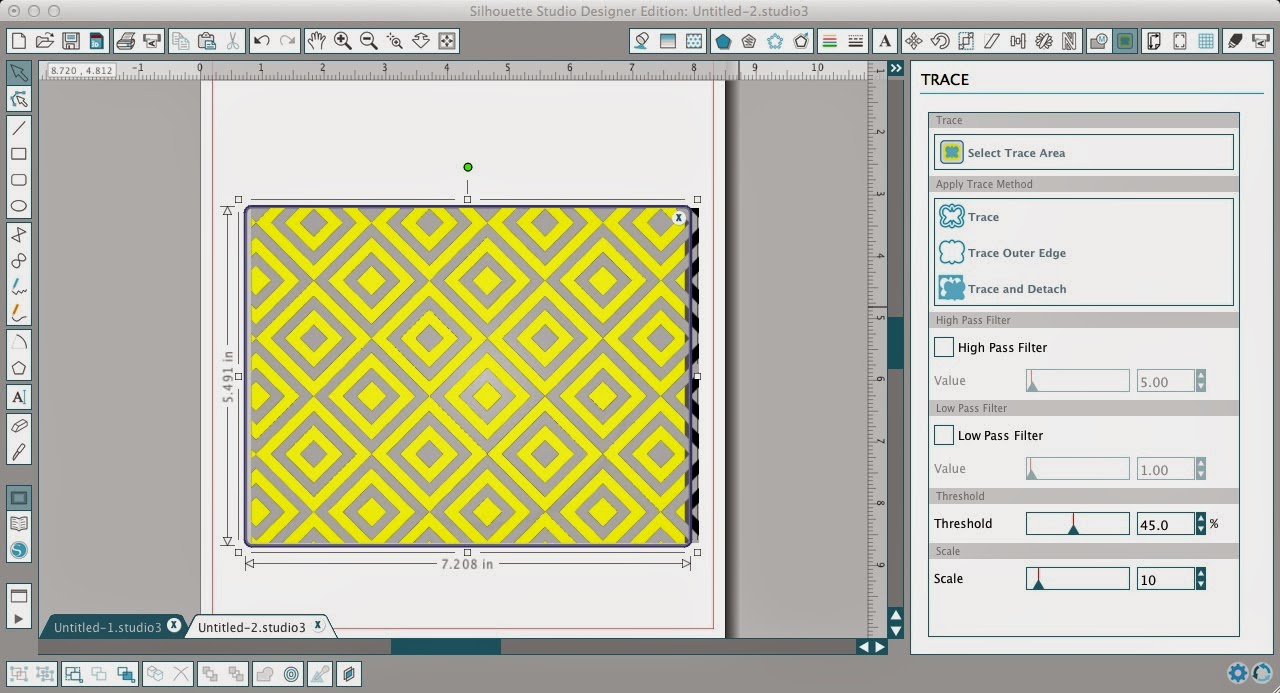
So to get cut lines around each of those little black and white spaces, what you want to do is bring the pattern into Studio by dragging and dropping it into the work space - and NOT putting it into your My Pattern folder. This is why I suggest saving the pattern to your desktop.
So you want to use the trace tool to trace the entire geometric pattern. See where I'm going with this? Trace Window > Click 'Select Trace Area' > Highlight area to trace> Uncheck 'High Pass Filter' > Slide Over Threshold > Click 'Trace'
For a more detailed tutorial on bringing any jpegs/gifs into studio and tracing them click here.
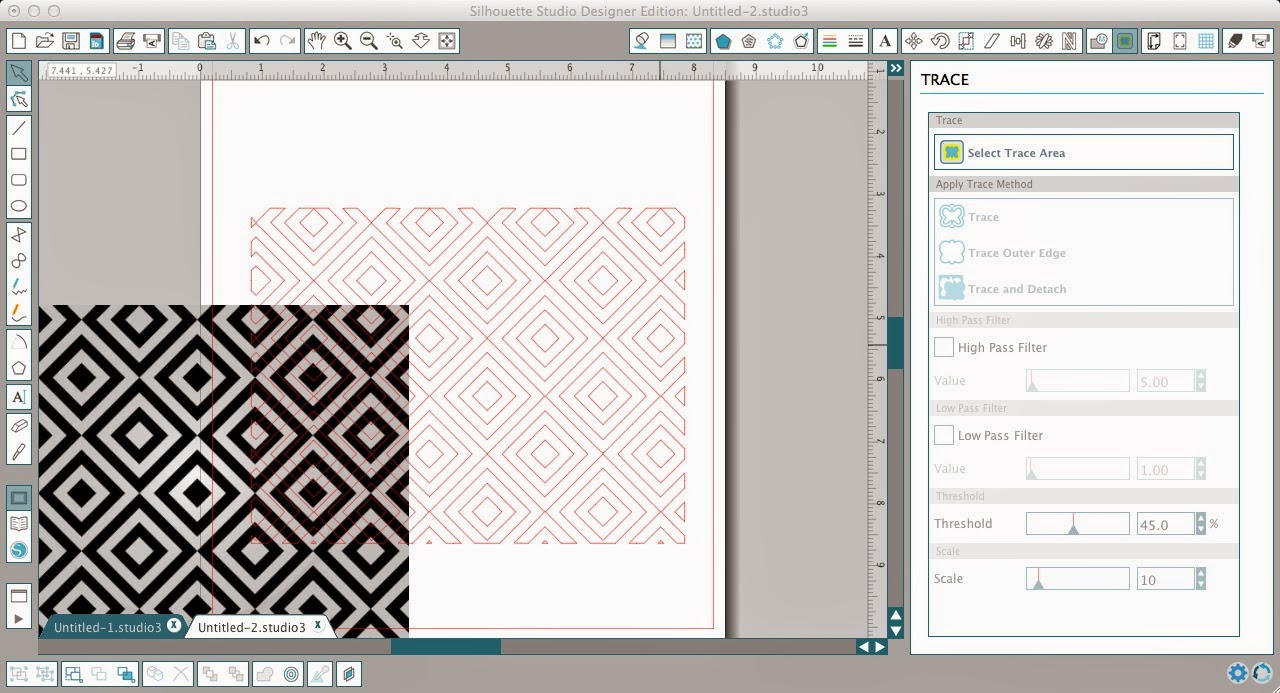
Grab the pattern jpeg and move it out of the way (and delete) to reveal the cut lines.
You have now made it into a background that is cuttable! (I filled it in blue and then put that green box there just so you could see what I mean.)
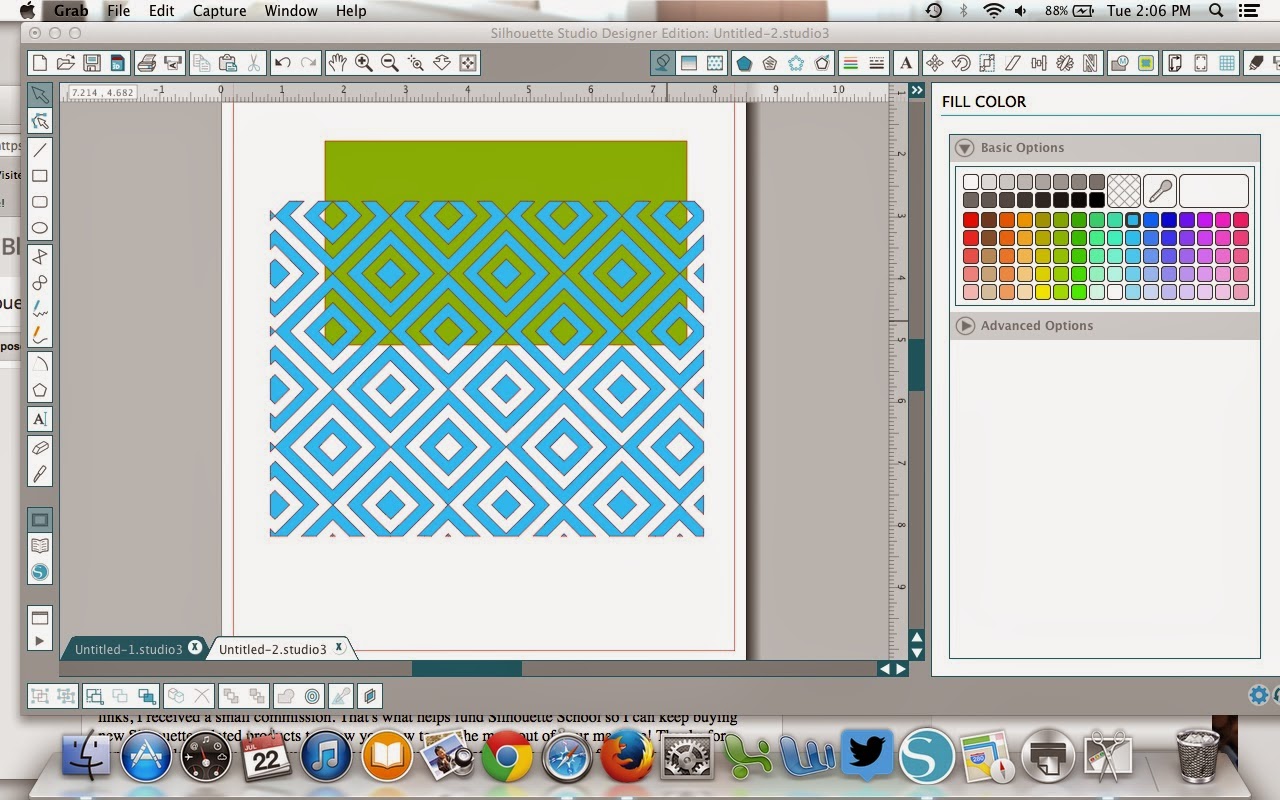
Remember, the white space in the heart above is solid. It's essentially the non-printed paper. The white that you see here between the black lines, when cut, would be negative space that's been cut out. (If you're wondering how I went from the ^^^ to vvv you'll want to follow this tutorial on filling a shape with a cuttable background.)

This is a great trick to know since you may not always want to print and cut. You might want to layer paper or vinyl (or whatever) and it opens up a whole new source for backgrounds so that you can do that very easily.
Note: This post may contain affiliate links. By clicking on them and purchasing products through my links, I received a small commission. That's what helps fund Silhouette School so I can keep buying new Silhouette-related products to show you how to get the most out of your machine!
Thanks for coming to class today at Silhouette School. If you like what you see, I'd love for you to pin it!

Congratulate: Turning my pattern in to a downloadable file
| Free safe paypal money adder software free download | Rea clep books pdf free download |
| Download the battle of polytopia on a pc | Fl studio 9 free download full version for pc |
| Ubisoft download pc | Cissp official practice tests pdf download |
| Mastizaade free download | Download kyle mills enemy of the state epub torrent |


-
-